

01 ~ The point
What you get
Move your mouse to the left of the page and she looks left. Move it right, she follows. Leave, and she drifts back to eye contact and blinks every few seconds. There is no video playing. It is one still image, 33 frames wide, and a few hundred lines of code deciding which frame to show.

The whole range of motion is a line: far left on one end, far right on the other, eye contact in the middle. Your cursor's position across the page picks a spot on that line. Everything that feels alive about it is how she gets from one spot to the next.
I saw a reel of a developer's portfolio where the character on the page reacted to the cursor, and I wanted one with me in it. The whole thing came out of one Julius chat and an afternoon of finishing. Here it is in the same five steps I use in the video.
02 ~ Step 1
A photo and a pair of headphones
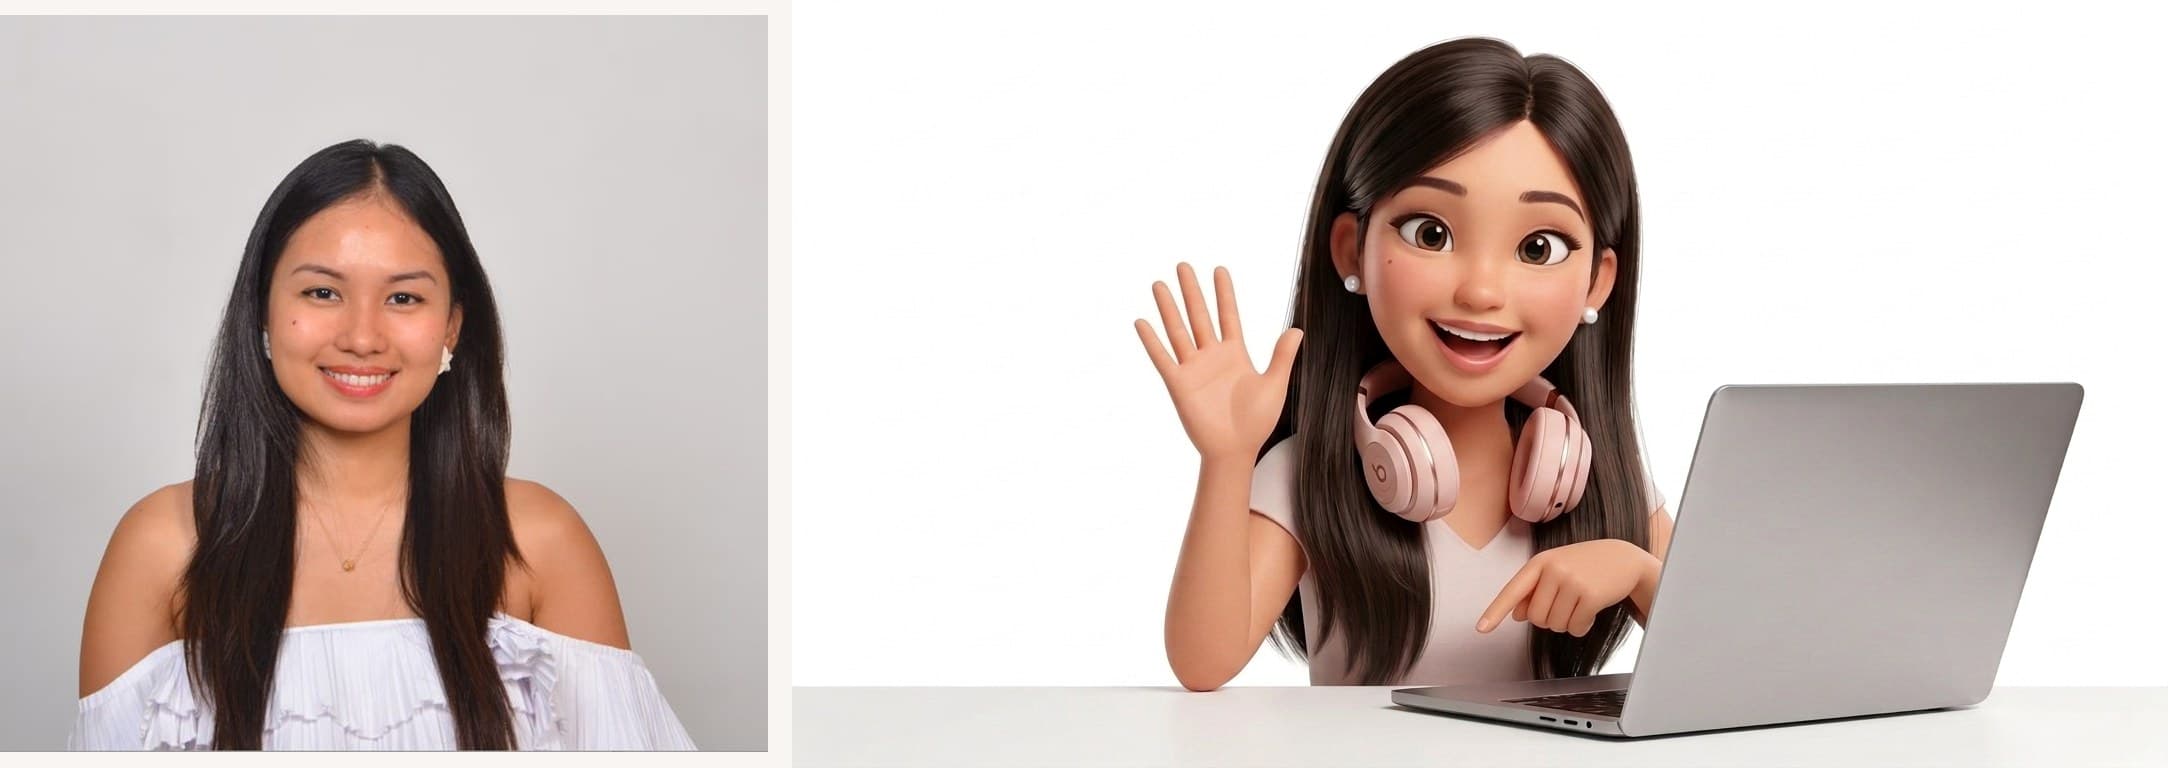
Front facing works best. I used a plain studio photo of me, and because I wanted her to wear the headphones I actually wear, I added a product shot of them as a second image. Two inputs in the same message, so the character and the prop get generated together instead of pasted on later.
03 ~ Step 2
The animated me
This is the prompt that turned the photo into her. Everything after it was a one-line follow-up in the same chat.
Turn the person in the first photo into a Pixar-style 3D character. Keep her face, hair, skin tone and smile recognisable. She is sitting at a laptop on a plain white desk, wearing the headphones from the second photo, front view, looking at the camera. Soft studio light, clean white background, no text.
The first render waved at me with the headphones around her neck, which was cute and wrong. Three short follow-ups fixed it, one change at a time. The file names Julius gives you are the first words of each prompt, which turned out to be a nice diary of the session.
Same character, same framing, same headphones. Put the headphones on her ears and have her typing on the laptop, both hands on the keyboard.

Remove the b logo from the headphones. Keep everything else identical.

Make her looking at the camera, hands resting by the laptop, small smile. Same character, same framing. Render at 2K.
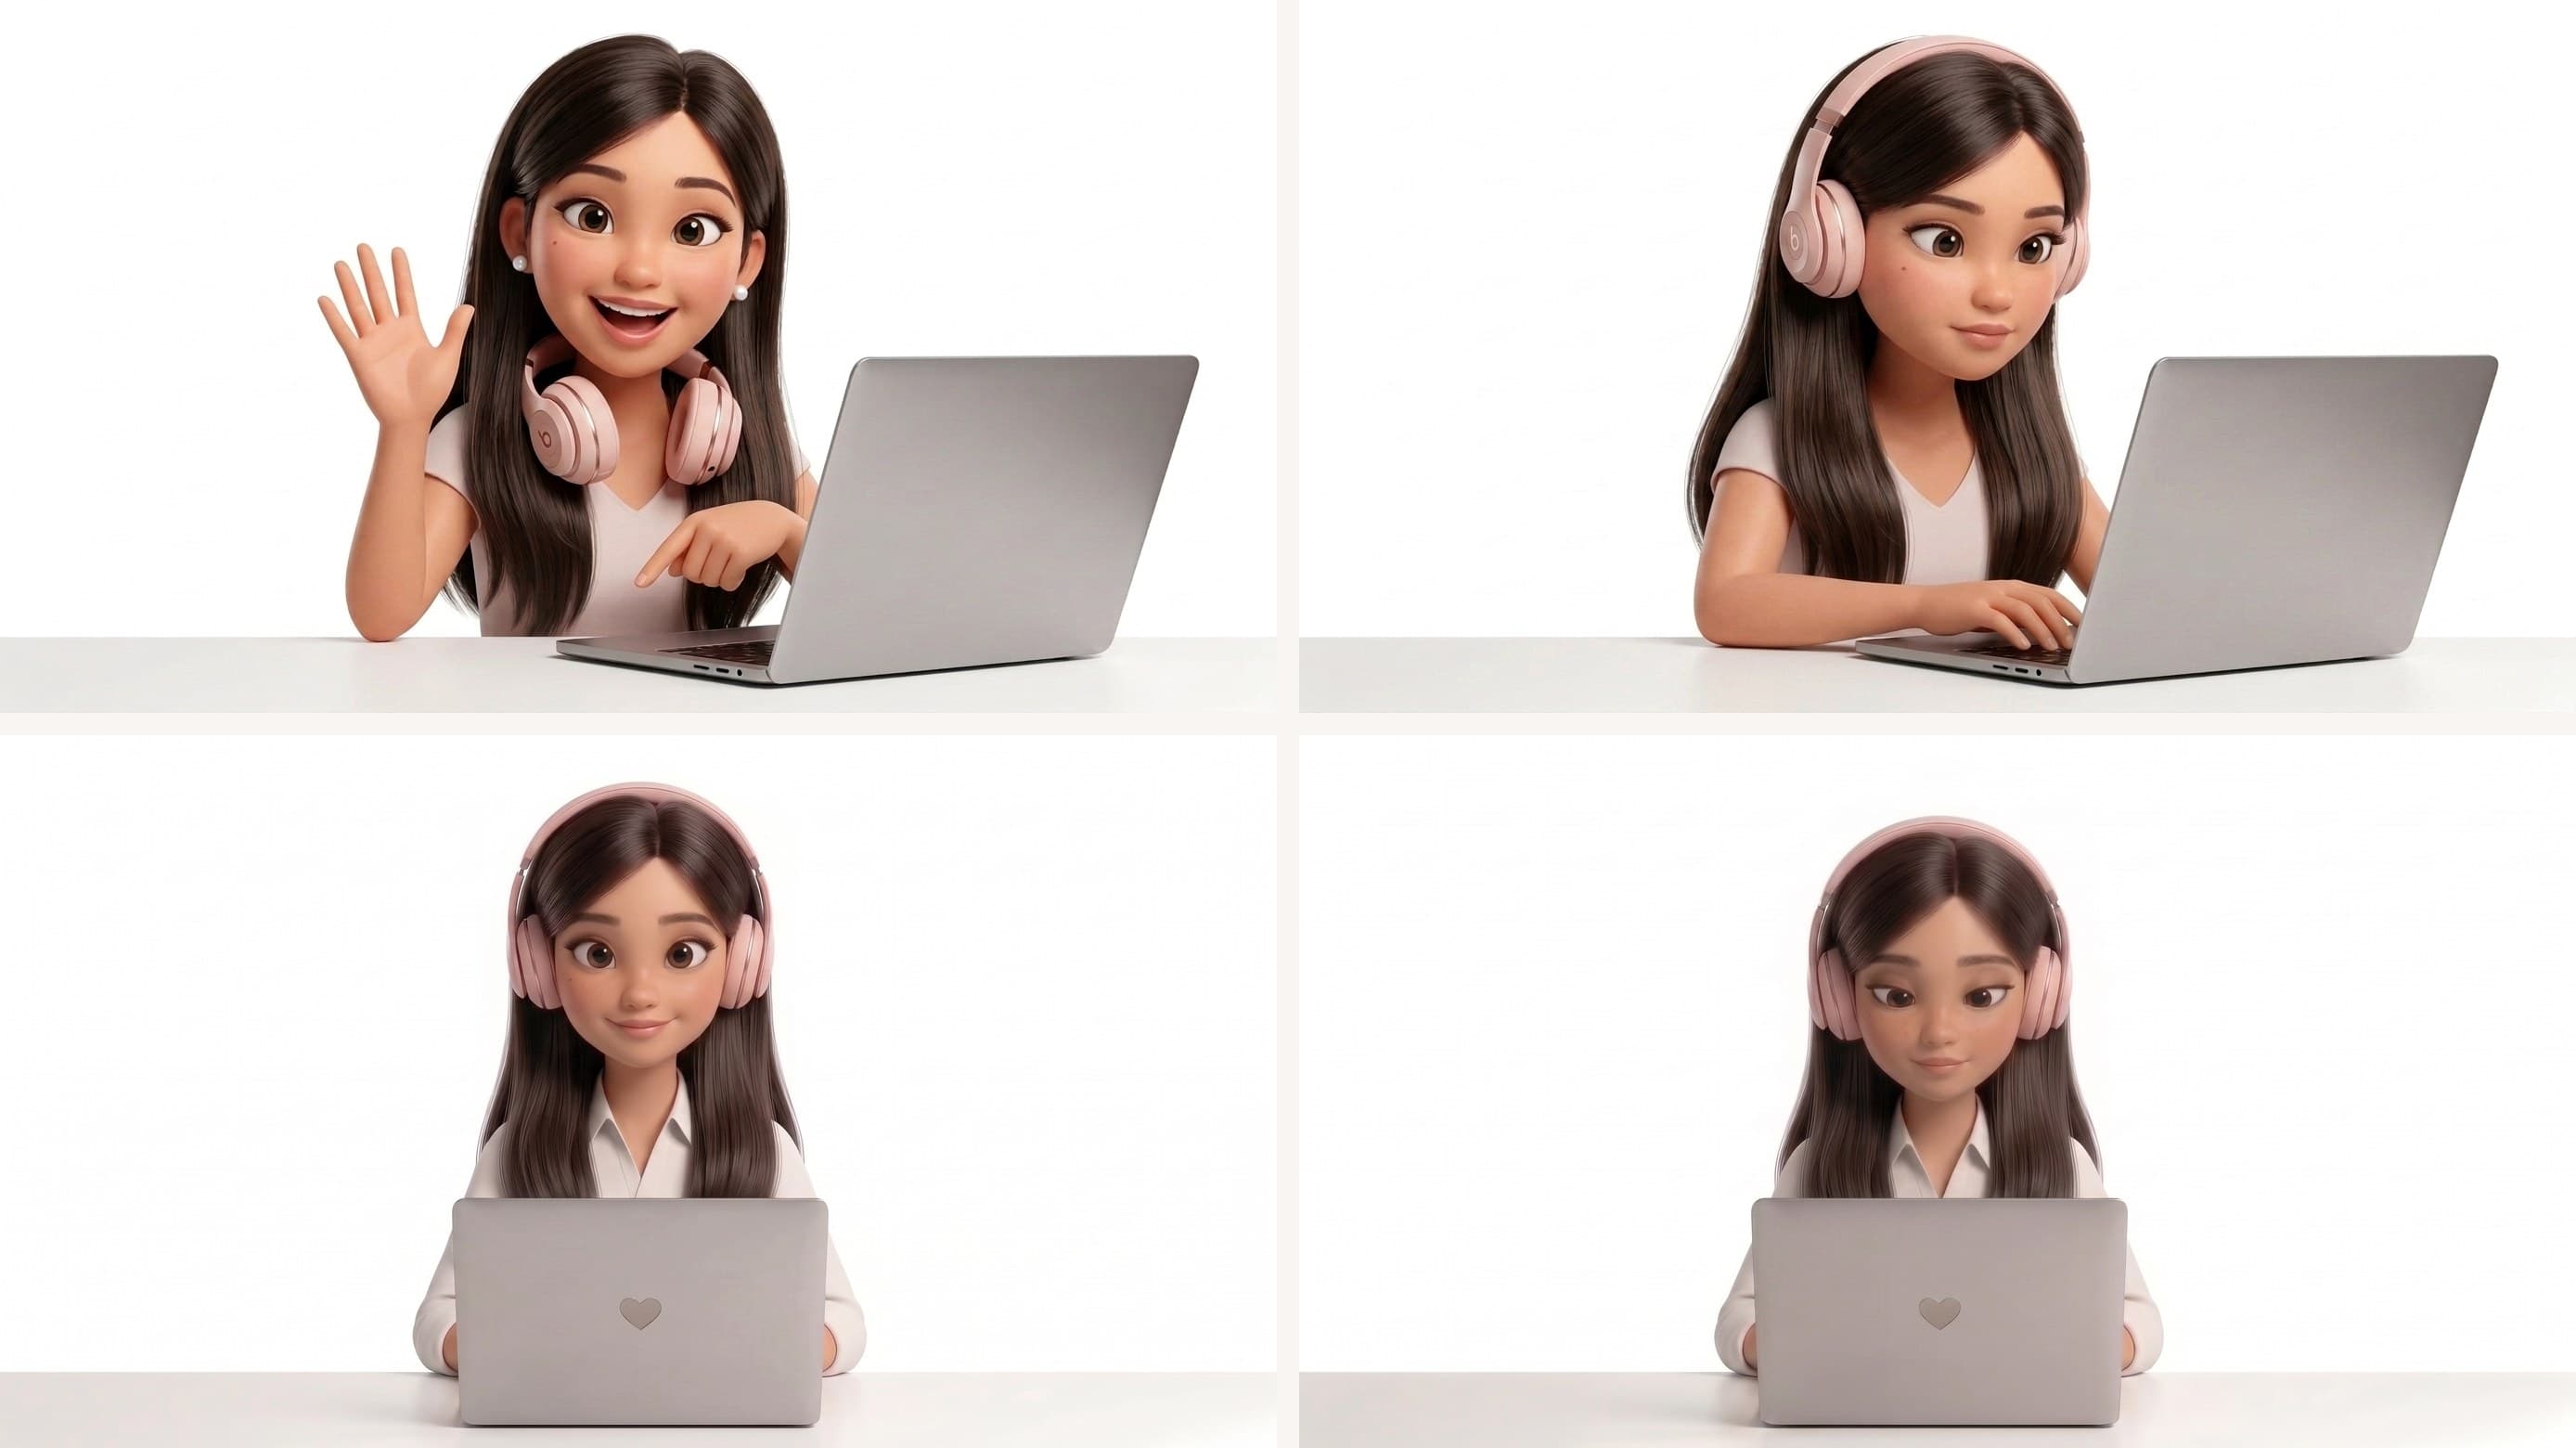
Don't rewrite the prompt when something is off. Say what to change and what to keep. “Same character, same framing” did more for consistency than any style word.
04 ~ Step 3
Animate it
The final still goes back in with an animate prompt. Two things in it matter more than the rest: a locked camera, so every frame lines up with every other frame, and a return to centre, so there is a resting pose to come home to.
Animate character looking around. Locked camera, no zoom, no cuts. She starts looking at the camera, turns her head to look to one side, then the other, glances up once, blinks naturally, and comes back to looking at the camera. Hands stay still. White background stays white. 8 seconds.
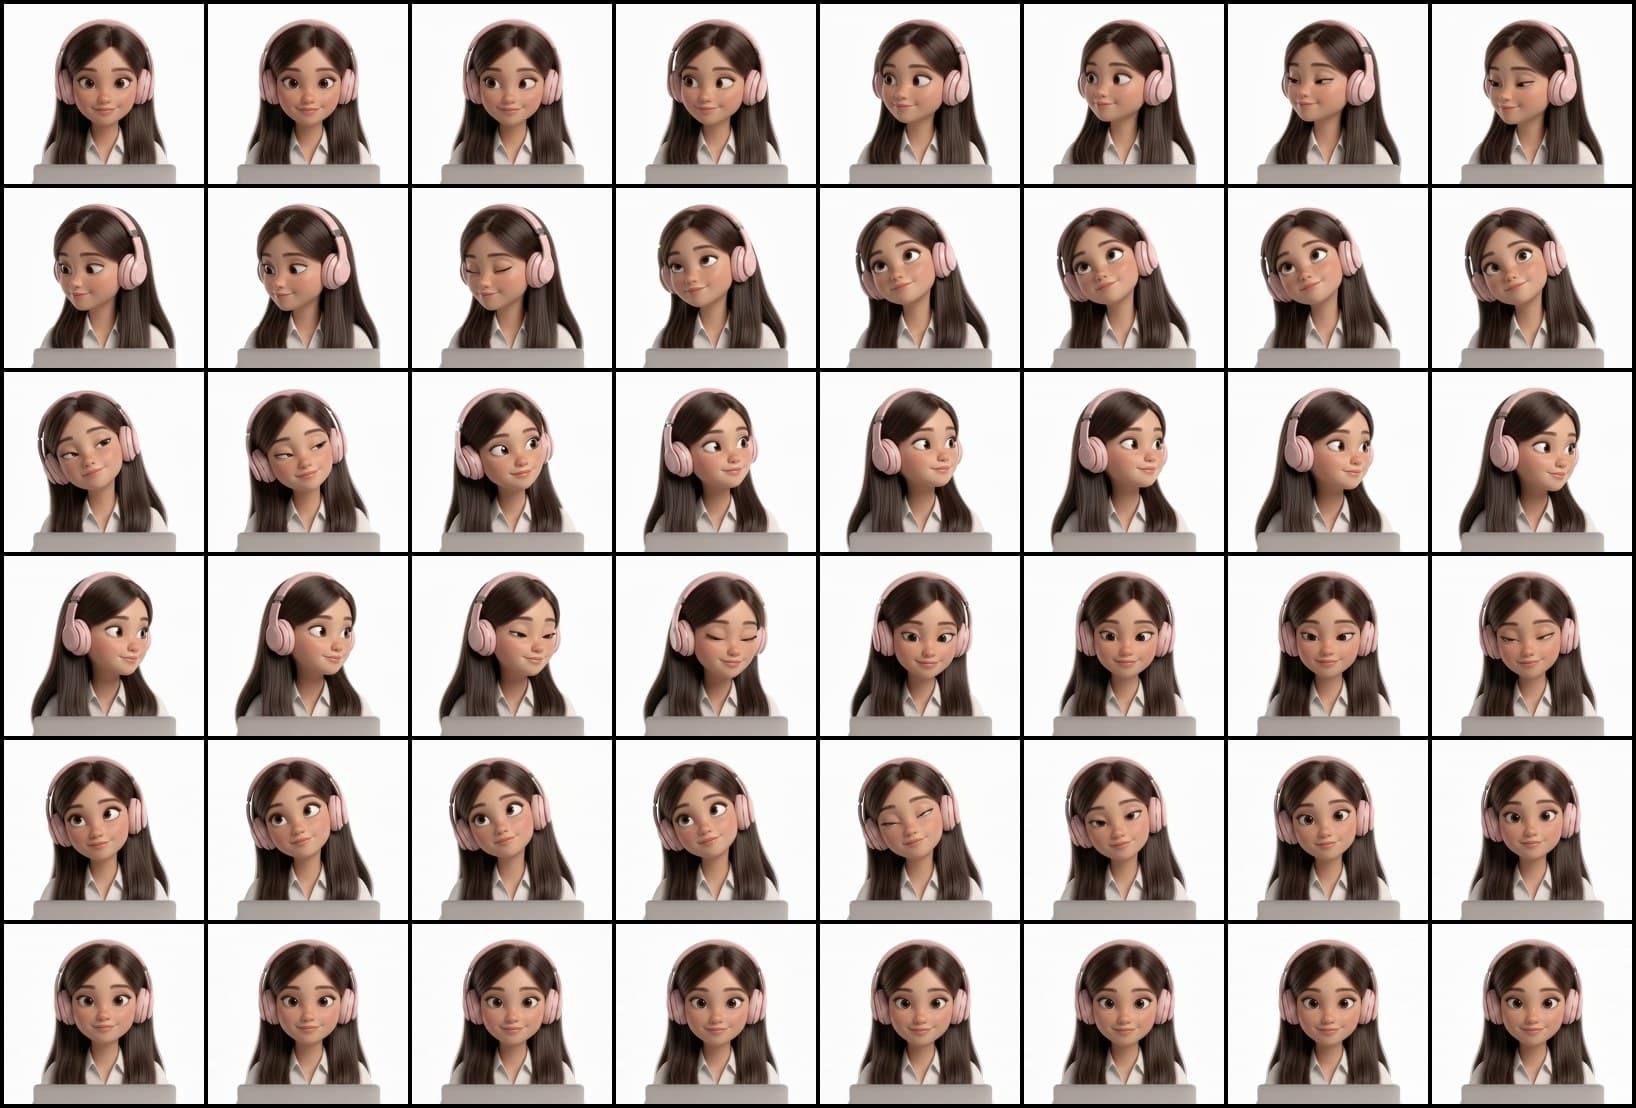
What came back, with every fourth frame laid out so you can read it like a comic:
05 ~ Step 4
The interactive hero
Then the clip goes back into Julius with the prompt that does the engineering. This is the one people ask for. I keep it word for word:
Create an interactive hero using the uploaded animation. Use FFmpeg to extract every frame, combine them into a single horizontal sprite sheet, and build a frame-based animation system in vanilla JavaScript. Make the character naturally track the mouse by smoothly scrubbing through the frames based on cursor position, with eased interpolation and a smooth return to the idle pose when the mouse leaves. Preserve the original composition, keep the character centered, and make the interaction feel premium and responsive.
Julius ran ffmpeg, extracted the frames, packed them, wrote the spring, and handed back a page I could open in a browser. That page is real and it works:
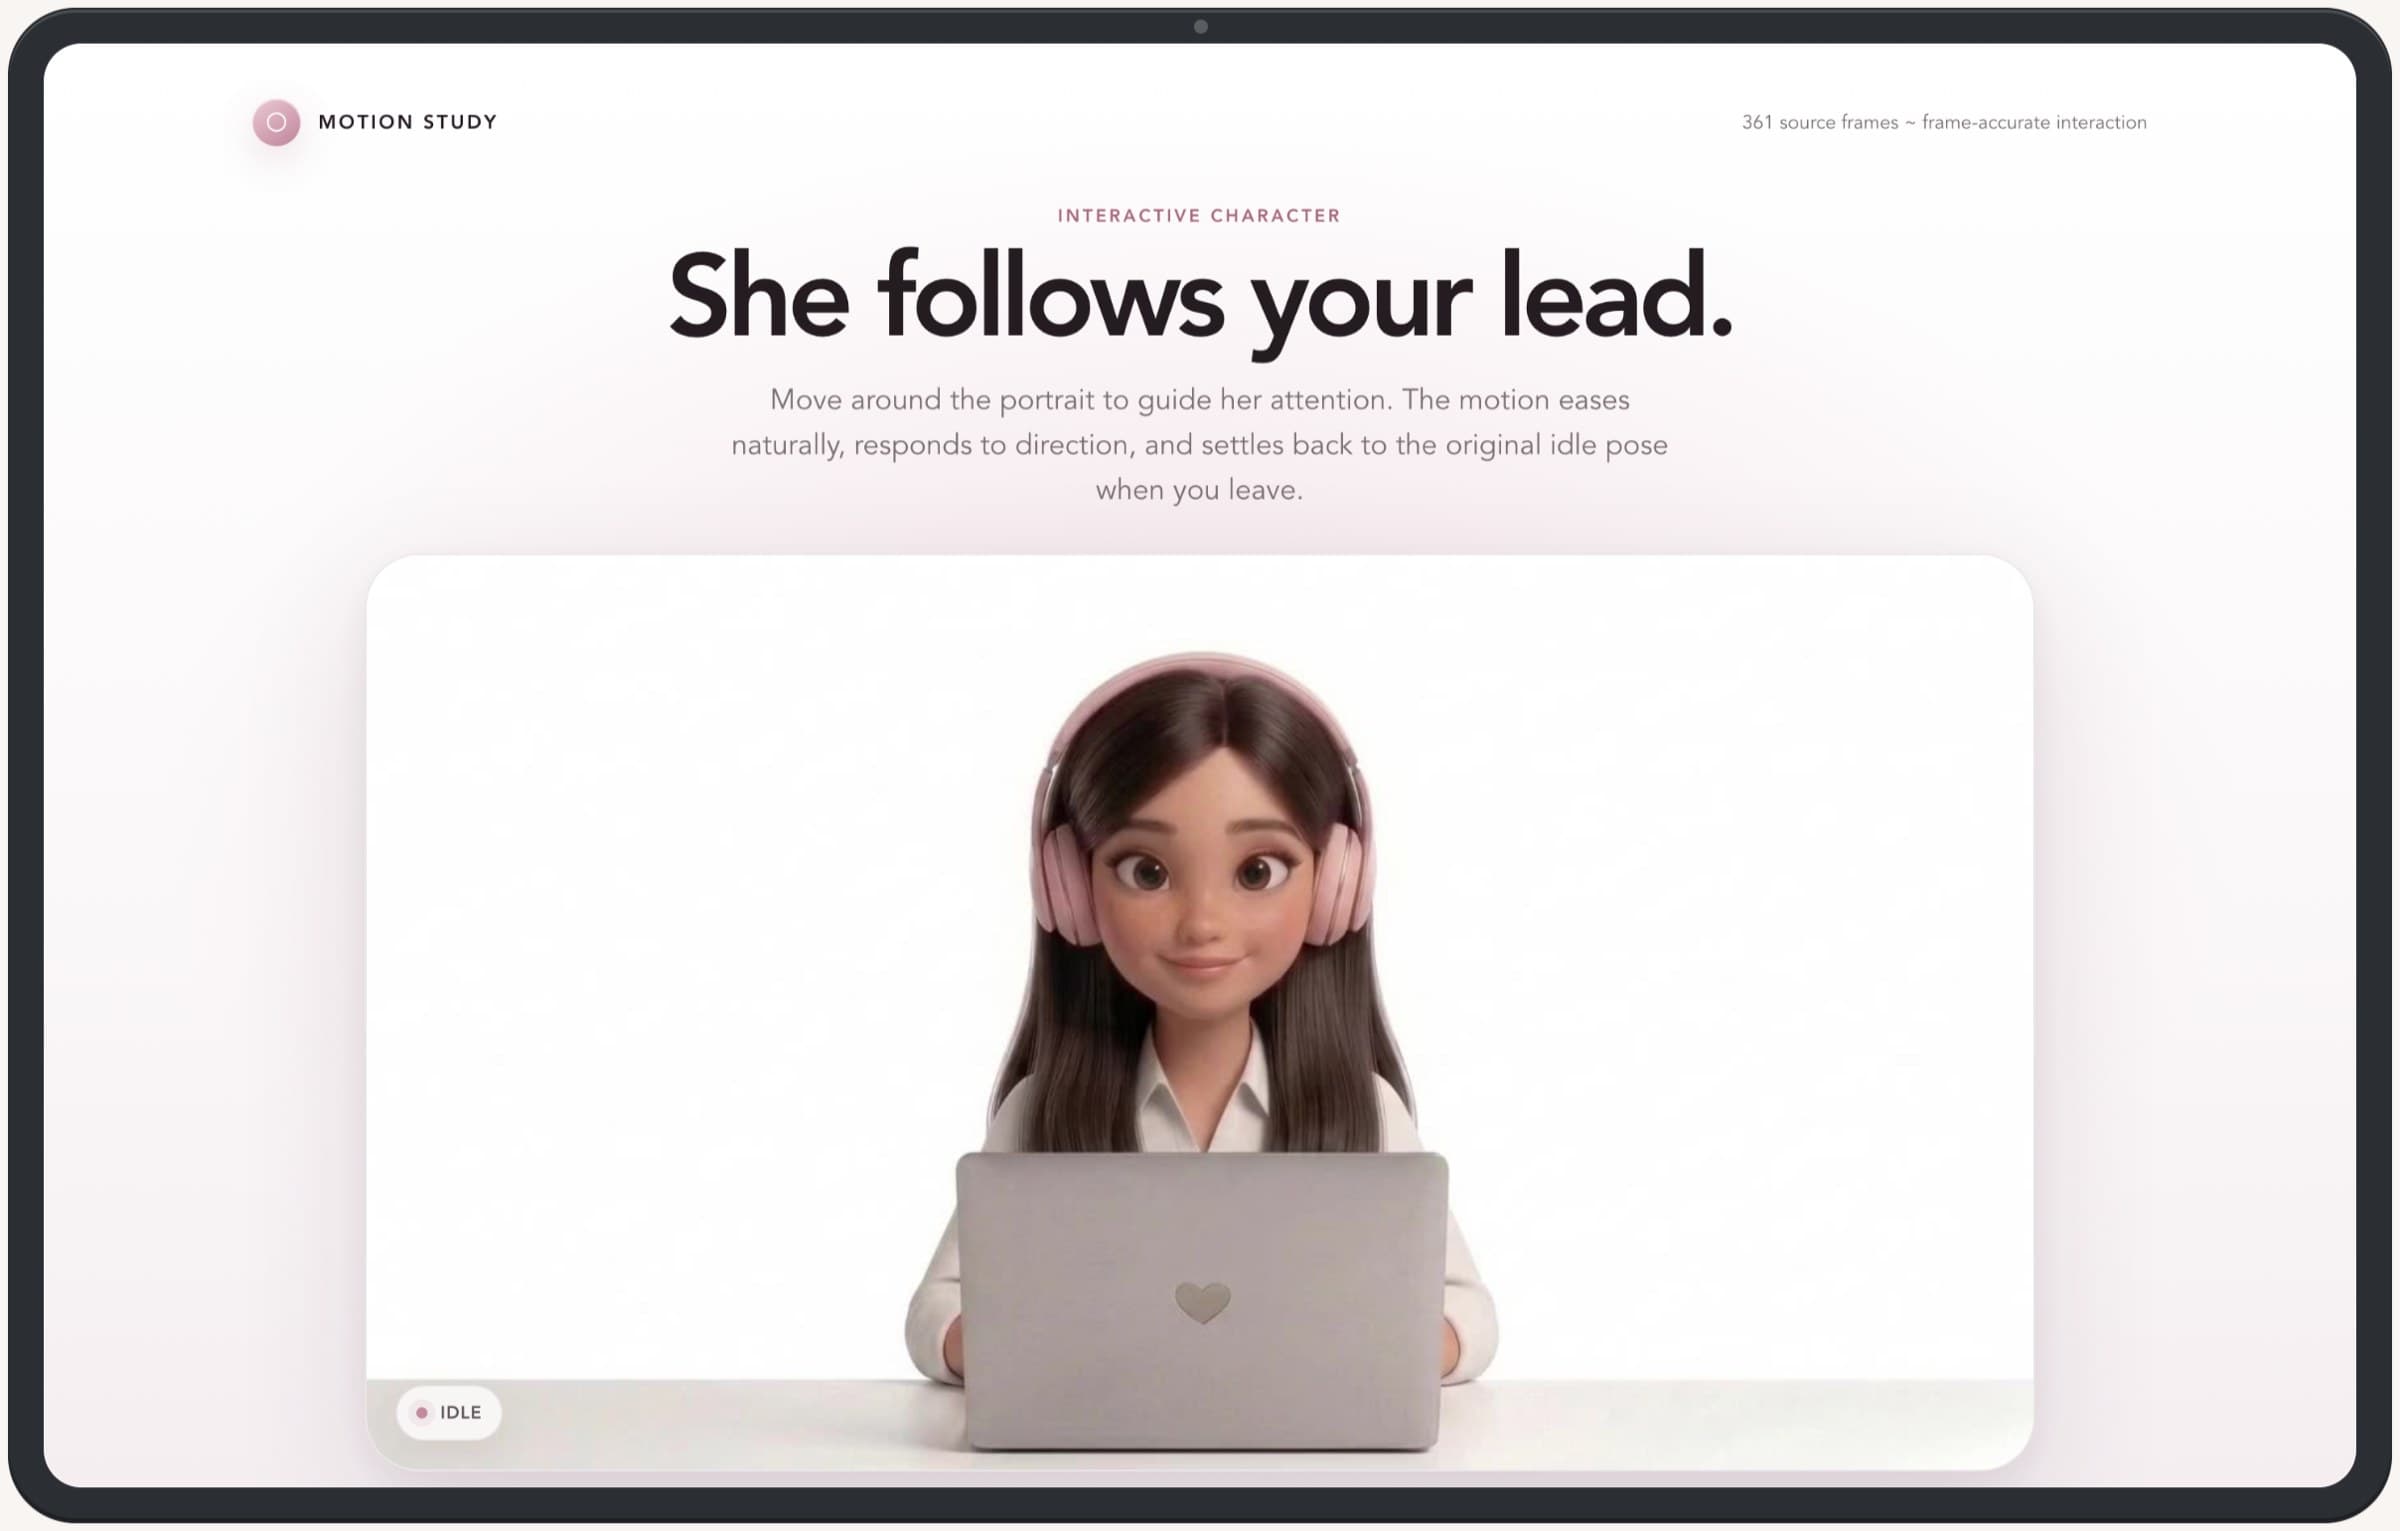
Two numbers from its README made me rebuild it for the site: 361 frames, and a sprite sheet 57,760 pixels wide by 88 tall. Browsers cap one image dimension at 16383 pixels, so the big strip could only be a blurry fallback and the sharp frames loaded one file at a time. For a demo that is fine. For my home page I wanted one image, sharp, with the frames chosen on purpose.
So I kept the idea and the prompt and did the frame picking by hand. First, extract every frame, cropped to her and the laptop:
Then measure how different each frame is from the next. Mean squared error is a crude number, but it shows where the turn happens and where she is only holding a pose:
Frames 0 to 3 are the same picture. Frames 8 to 22 are the turn, every one earning its place. Frames 92 to 99 are a hold with only the eyes drifting. So the strip keeps every frame of the two turns and thins the holds. The blink in the middle of the return is skipped, because a cursor can park anywhere and nobody wants to park on closed eyes. Two blink frames go at the end of the strip for an idle blink instead. 33 frames at 496 pixels is 16368 wide. Right under the cap.

The white background had to go so she sits on the page in light and dark mode. Her shirt is nearly the same white, so a plain colour key punched holes through it. A flood fill from the frame border fixes that: only white that touches the edge is background.

The engine is the same shape Julius wrote, trimmed to what the strip needs. Cursor x becomes a target frame, a critically damped spring chases it, and each draw fades the next frame on top of the current one so motion between frames reads as motion rather than steps:
// cursor x in -1..1 -> a target frame on the strip
const u = clamp(x / 0.82, -1, 1);                 // fully turned before the edge
const eased = Math.sign(u) * (1 - (1 - Math.abs(u)) ** 1.6);
target = eased < 0 ? idle + eased * idle : idle + eased * (count - 1 - idle);

// critically damped spring: snappier while following, lazier on the way home
const k = following ? 170 : 55;
const c = 2 * Math.sqrt(k);
vel += (k * (target - pos) - c * vel) * dt;
pos += vel * dt;

// draw floor(pos), then fade floor(pos)+1 in by the fraction
const i = Math.floor(pos), f = pos - i;
ctx.clearRect(0, 0, w, h);
ctx.drawImage(sheet, i * w, 0, w, h, 0, 0, w, h);
if (f > 0.005) {
  ctx.globalAlpha = f;
  ctx.drawImage(sheet, (i + 1) * w, 0, w, h, 0, 0, w, h);
  ctx.globalAlpha = 1;
}
First build, cursor on the right, she looked left. I had read the contact sheet backwards. Easy fix, rebuild the strip in the other order, but I wanted proof, so a few lines in the browser console compare the canvas against every frame of the strip and print which one is on screen while synthetic pointer events fire:
The second trace is what a working hero looks like: she reaches the far end in two hundred milliseconds, holds, comes back to idle after I leave, and the 31 near the end is a blink.
06 ~ Step 5
The live link
The old hero was mid-rework in the same repo, so this one lived in a git worktree: a second folder, its own branch, its own dev server, nothing shared but history. The strip is built by a script in the repo, so changing my mind about a frame is two lists and a rerun, never hand-edited pixels.
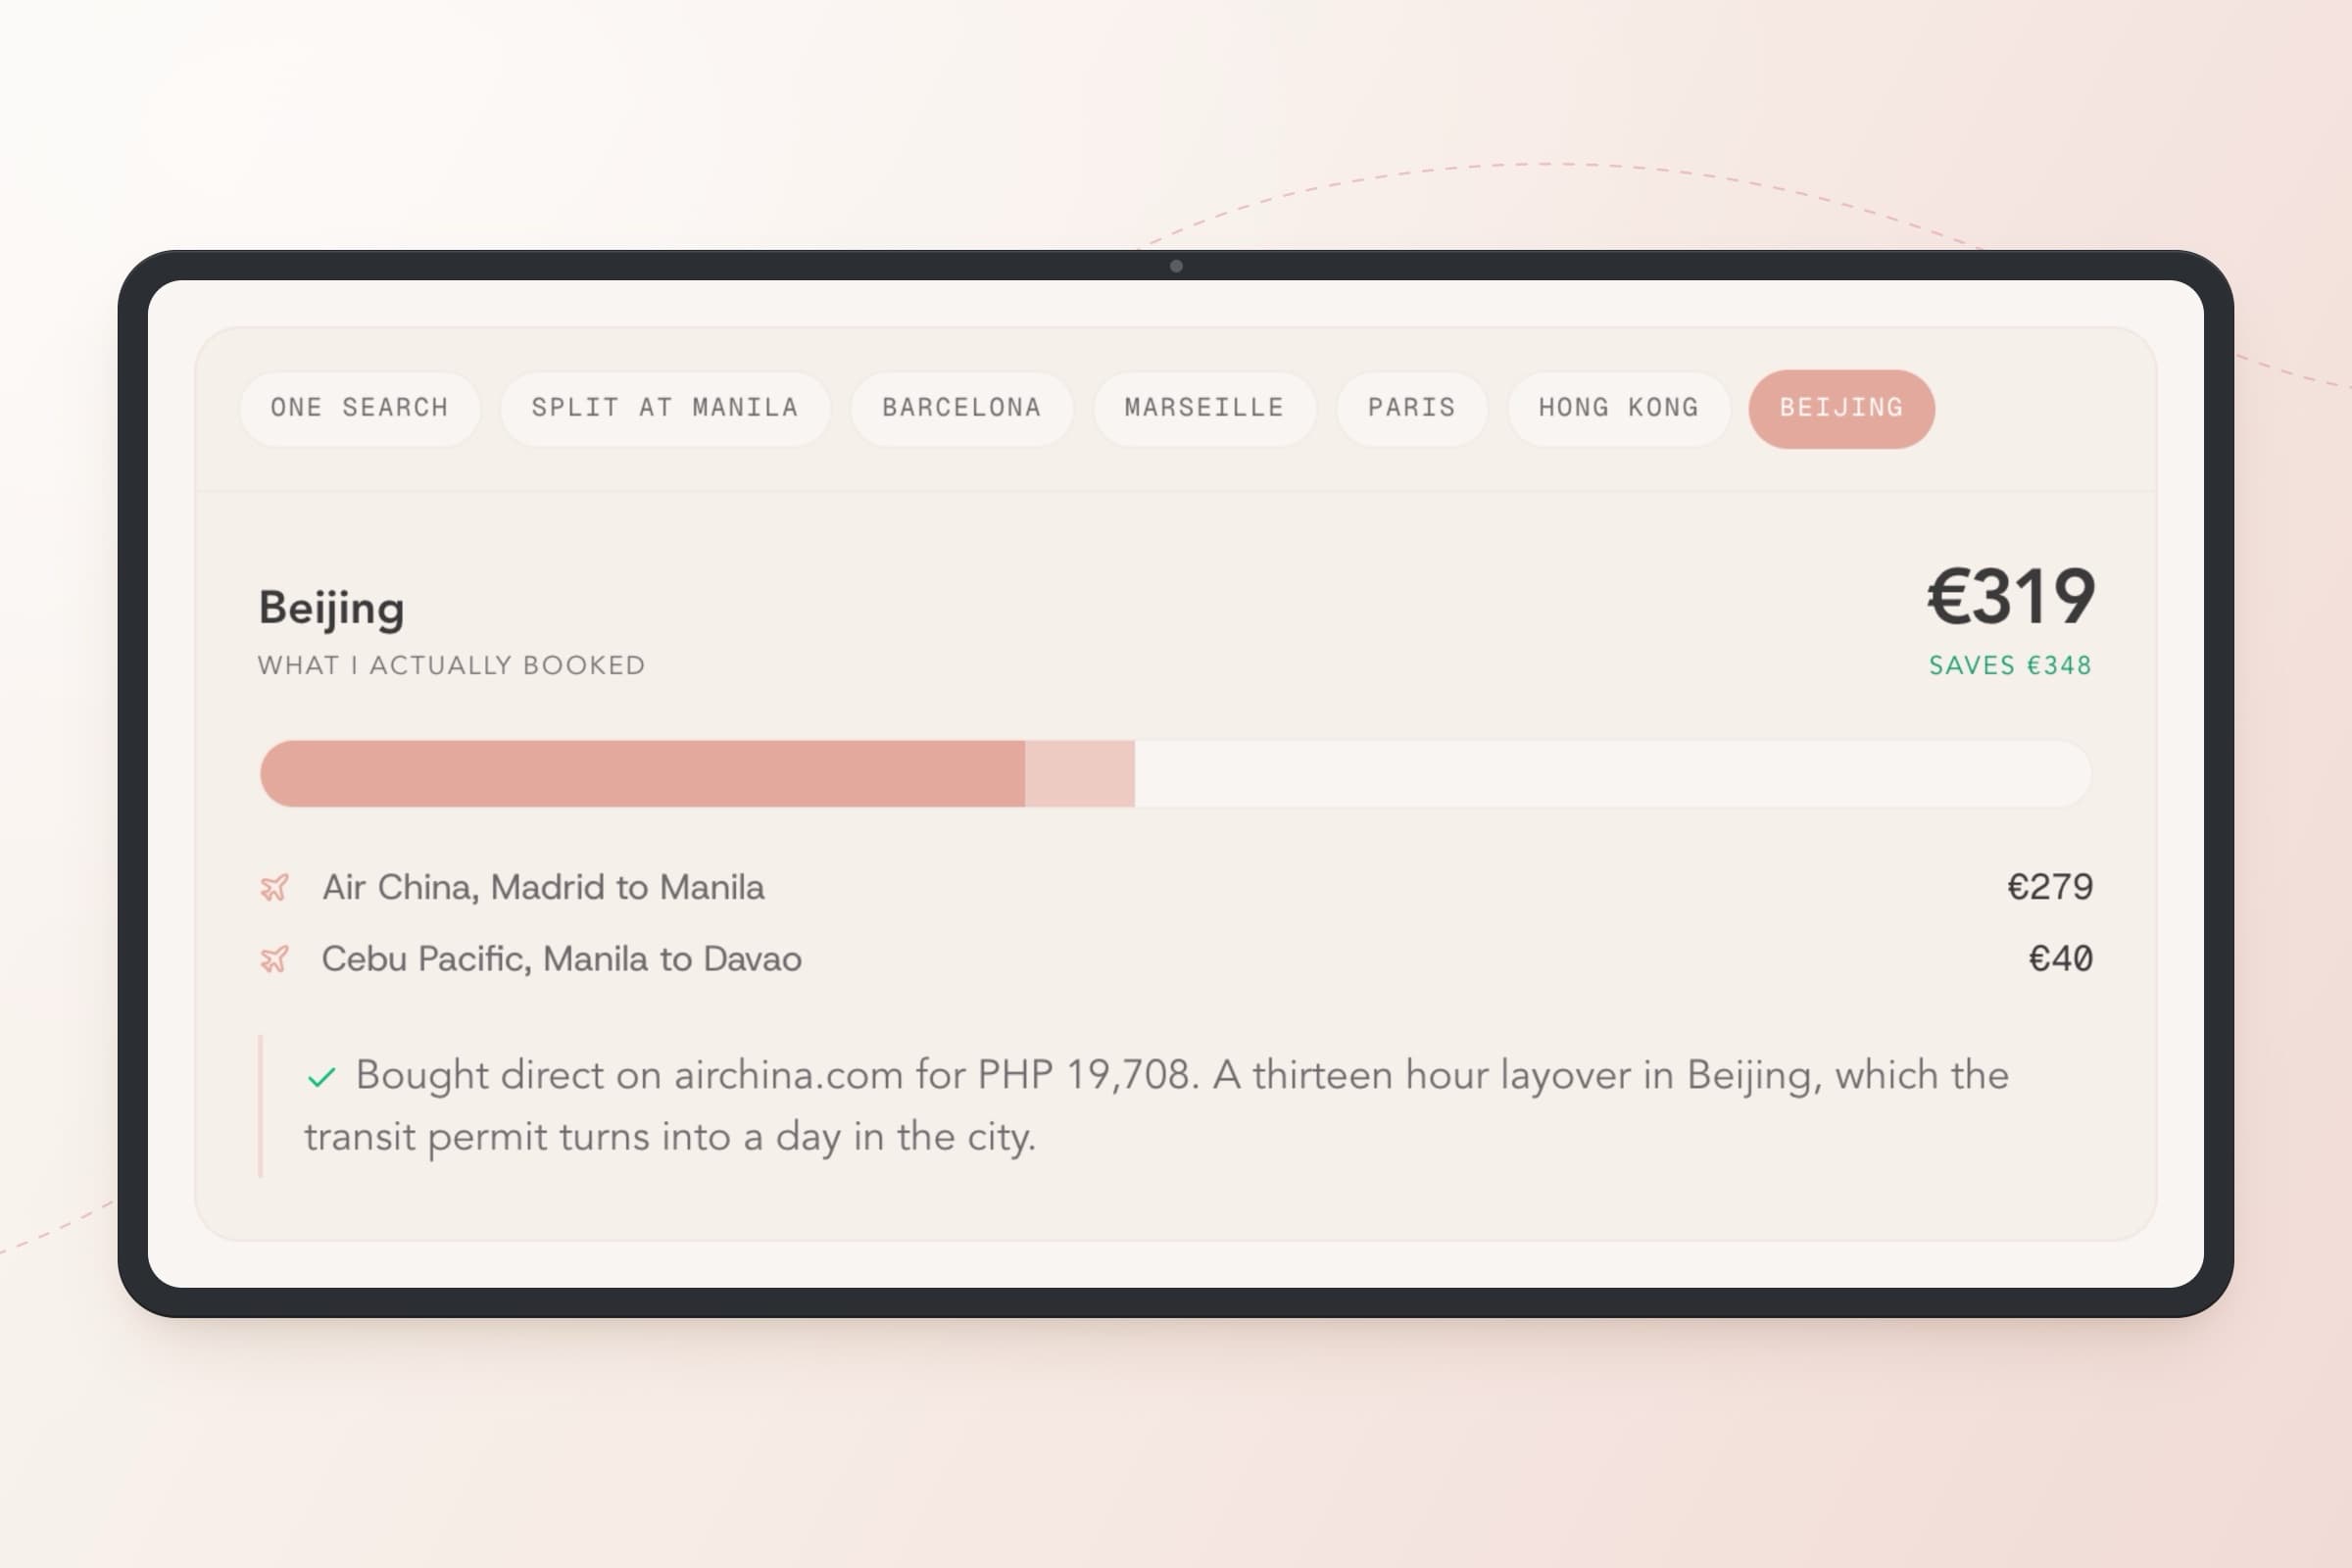
From there it was the usual route: a pull request into dev, a release from dev to main, and a wait for the production build to say READY before calling it live. A failed build keeps the old site up and tells nobody. It is live now at abiemaxey.com/hello2. On a phone, tap left or right of her.
07 ~ Copy this
Every prompt, and the checklist
Image
One front-facing photo of me plus a product shot of the headphones, with the character prompt below. Three follow-ups: same character typing, remove the logo, look at the camera.
Video
The final still plus the animate prompt. 8 seconds, locked camera, 24fps.
Hero
The clip plus the interactive hero prompt. Julius extracts the frames, packs the sheet and writes the vanilla JavaScript.
Site
The part I did by hand: picking the frames, keying the background, and dropping the engine into my Next.js portfolio.
- Start from one front-facing photo and one product shot of the thing you want her wearing. Two inputs, one prompt.
- Fix the character in follow-up messages, one change each: typing, remove the logo, look at the camera. Don't rewrite the whole prompt.
- Animate the final still with a locked camera and a return to centre, or the frames won't line up.
- Read a contact sheet before you pick frames. Keep every frame of a turn, thin the holds, skip the blinks.
- Keep a single strip under 16383px wide. WebP and Safari both cap one dimension there.
- Test the scrub with synthetic pointer events and read the frame back from the canvas. Eyeballing lies.
- Mixing frames from two renders of the same character. Even a near match pops at the join.
The last one cost me an hour. A second clip arrived with an up-look I wanted, same character, same pose. Aligned and measured, the two renders were as different as two neighbouring frames mid-turn: bigger eyes, flatter headphones, slightly different scale. Any join at the centre would have popped. One source, or none.

Love,
Abie