

01 ~ The point
What you get
You hand it a finished talking-head video. It hands back a 9:16 reel with real screens, photos and clips timed to your words, plus titles, captions and a mixed sound pass.
Your talking head stays the base the whole time. Overlays come in two ways: they cover you when the screen is the point, or they sit beside your head with you still in front of them. Over b-roll they stay in the sky and never touch you.
You pick the look of every section from a short menu, in plain words. Change one line, render again.
02 ~ The wall
Where it came from
My first drafts looked like a slideshow with a face in it. White slides cut in and out, and I kept disappearing from my own reel. So I wrote the note I'd give an editor, and that note became the whole system:
Basically we have two ways of overlay. Covering me, so it really focuses on the overlay. And behind me, maximising the empty space, and I'm popping.
Every note after that turned into a rule. A step label comes first and the visual follows my words. Text never sits on text. Captions keep running under titles and skip what the title already says.
The rule that cost me the most: I asked for a tighter pace. It cut the dead air and sped lines up to 1.1x. It sounded worse, and one cut clipped a word. I put it all back. So the kit never trims or speeds up your clips unless you name the exact line, and then it cuts in the real silence from the waveform, not the transcript estimate.
03 ~ The pieces
How it renders
One reel is two JSON files. Nothing is baked into a timeline, which is why this works with Claude: it edits a file instead of clicking through a project.
{"name": "Step 1: grab a photo of yourself", "from": 8.34, "to": 12.44,
 "label": {"text": "step 01 · photo", "at": 8.34},
 "items": [{"kind": "image", "layout": "covering", "entrance": "snap",
            "from": 8.64, "src": "assets/photo.jpg",
            "chips": [{"text": "front facing ✓", "at": 10.58}]}]}
You never write that by hand. Claude does, then runs three commands:
04 ~ The words
Say it in words it knows
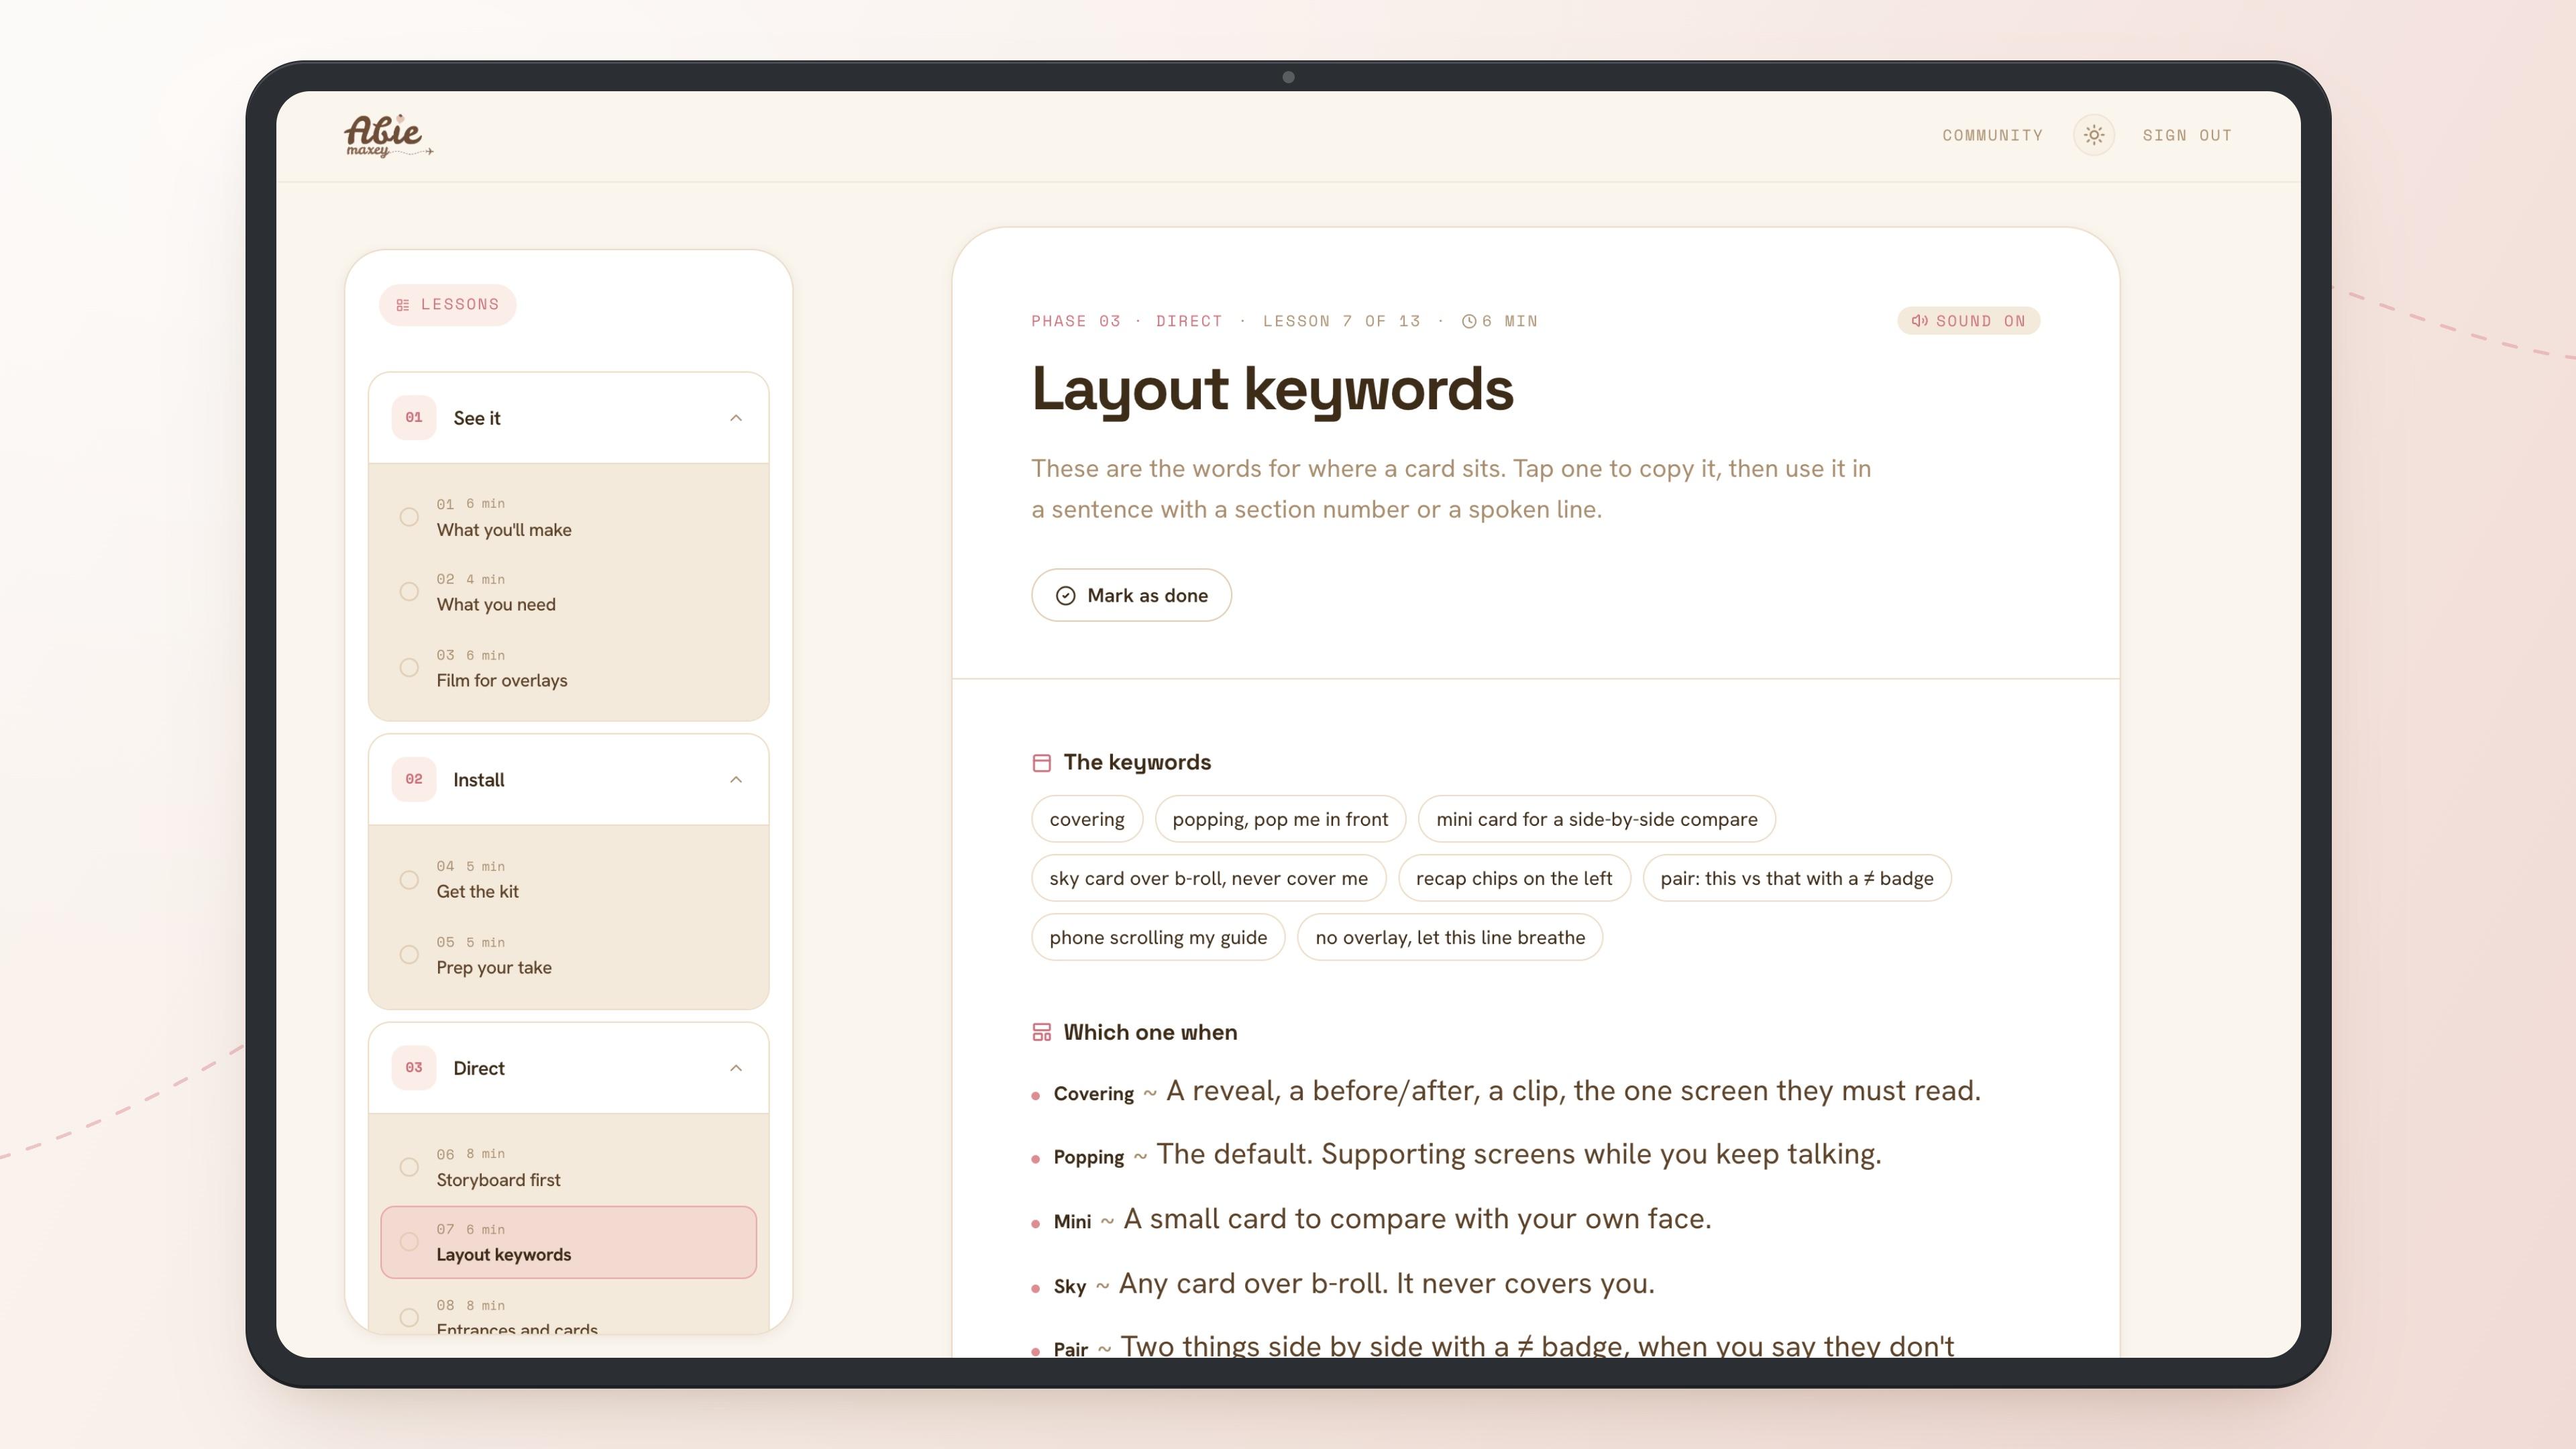
"Make it look nice" gets you nothing. A small shared vocabulary gets you what you pictured on the first try, so the kit comes with a keyword sheet that maps to the menu.
Use them in a sentence, with a section number or a line you said:
Section 3: the step label clicks in on "step one", then a shutter snap with viewfinder corners right after "yourself". Covering, my photo centred. A "front facing ✓" chip lands on "front facing".
05 ~ The review
Pick per section
A render takes minutes, so the plan comes first. Claude proposes one section per spoken line. After the first render you get a storyboard page: every section with its stills, what's on screen, what you say, and three dropdowns for layout, entrance and title.
Change what you want, write notes in plain words, press Send and paste them into Claude Code. It applies your picks, reads your notes and renders the next version.
06 ~ The sound
Sound is half of premium
My first mix had over 50 sounds, with chimes and sparkles on everything. Too ugly. I cut those for good, along with the generated music bed.
What worked was fewer sounds, treated properly: about 30 of them, pops that rotate with small changes in pitch and level, a touch of room, a little panning toward the card, everything ducked under my voice, and a finish at -14 LUFS. The kit does all of that on every render.
It ships with a starter pack made in code, free to use in your reels. Real recorded sounds are richer, so if you have a library you can point it there and rerun only the mix.
07 ~ The kit
Get reel overlays
The kit is the Claude Code skill, the render engine, the keyword sheet and 13 lessons on how to film for it and direct it. It needs a Mac, because the cut-out uses Apple's person segmentation, plus Claude Code, Chrome, ffmpeg, Node and Python. One prompt installs the rest.
$97 once, or included with Annual. The first three lessons are free.
Get Reel Overlays- Sit slightly left and leave the space above your right shoulder empty. Cards live there.
- Say your steps out loud. "Step one" gives Claude a clean section break.
- Ask for the storyboard before the render. A plan takes seconds, a render takes minutes.
- Quote your own words for timing. "Right after 'yourself'" is exact.
- Read the contact sheet before you post. Text collisions jump out of it.
- Trimming or speeding up your talking clips to fix pace. Mine sounded worse every time.
- Stacking a riser and a whoosh on the same cut. It reads as a mistake.
The rules ended up being worth more than the renderer. Every one of them came from a draft I hated. That's the part I wanted to hand you, so your first reel starts where my fifteenth ended.

Love,
Abie